A Bisquick Dumpling recipe can be made in a pressure cooker! Yes, it’s possible. Pressure Cooker Chicken and Dumplings is a go-to favorite in our house and this dish is something you should keep in rotation because I am sure your family will love it.
Chicken and Dumplings is a hearty recipe that your entire family will enjoy. Let’s get right into how to make this winter treat.
Bisquick Dumpling Recipe
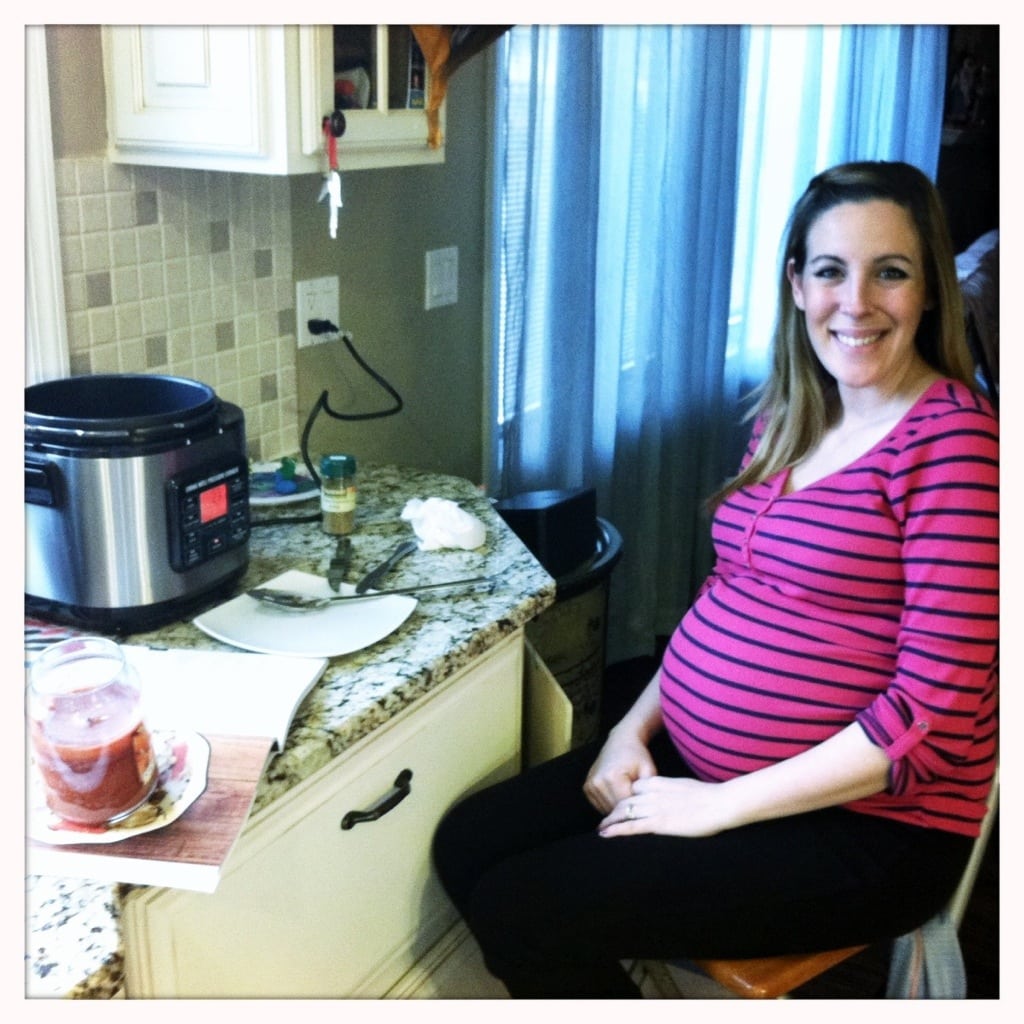
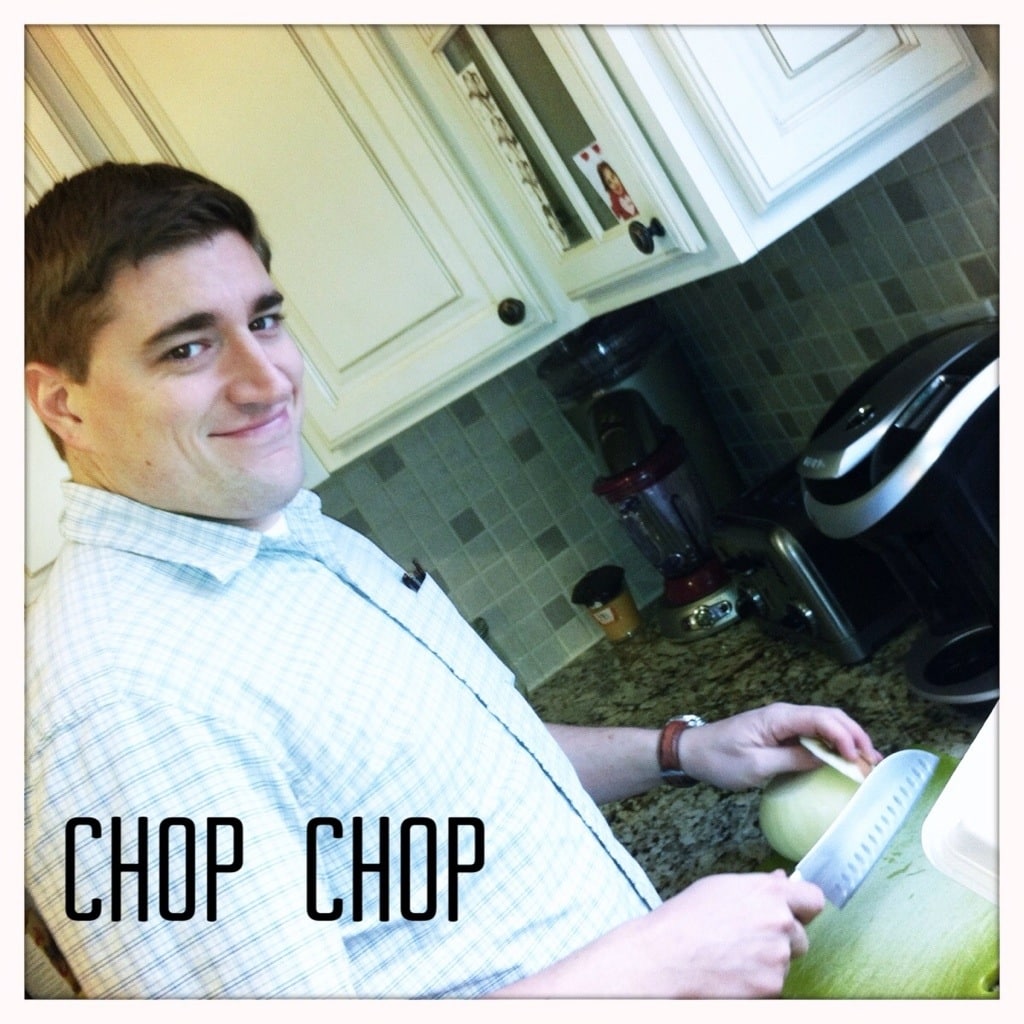
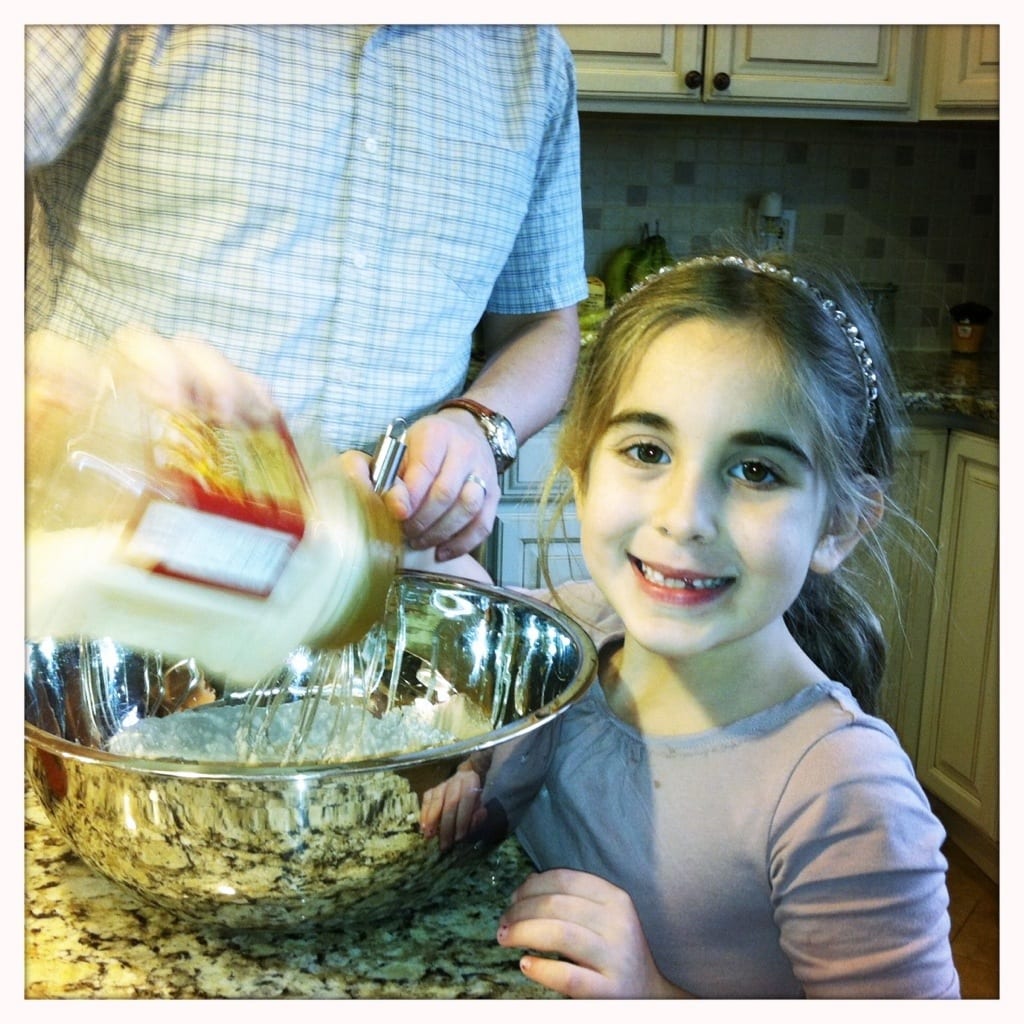
I cooked my first real meal yesterday but I needed a little help since I am still on bed rest. Everyone chipped in because we were all in the mood for my Bisquick Dumpling recipe and I am so happy that we pulled together to make them because they were such a treat.
This Bisquick chicken and dumplings recipe is a real treat and a true show stopper. You need to check it out.
The full recipe for Bisquick drop dumplings is below. ONE MISTAKE I HAVE TO NOTE: I used bone-in chicken. HORRIBLE mistake. It all separated and I had to pull the bones out before I served to the family.
Looking for some easy and delicious dinner ideas? You’ve come to the right place! “40 Delicious Dinner Ideas” is packed with recipes that are simple to cook and only require ingredients you likely have in your refrigerator right now. So why wait? Get cooking!
Learn from my mistake. Do not use bone-in chicken. I repeat! DO NOT USE BONE-IN CHICKEN. I am technically on bedrest and barely have my life in order. I can sit up for about 20 minutes a day and I didn’t use it to think about what type of chicken to put in my pressure cooker.
Pressure Cooker Chicken And Dumplings
All in – the Pressure Cooker Chicken and Dumplings meal took about 25 minutes to make. An absolute time saver and the perfect dinner option when you don’t have a full night ahead of you but still want to serve something delicious to the family.
Pressure Cooker Recipe: Chicken And Dumplings
Bisquick Dumplings Ingredients:
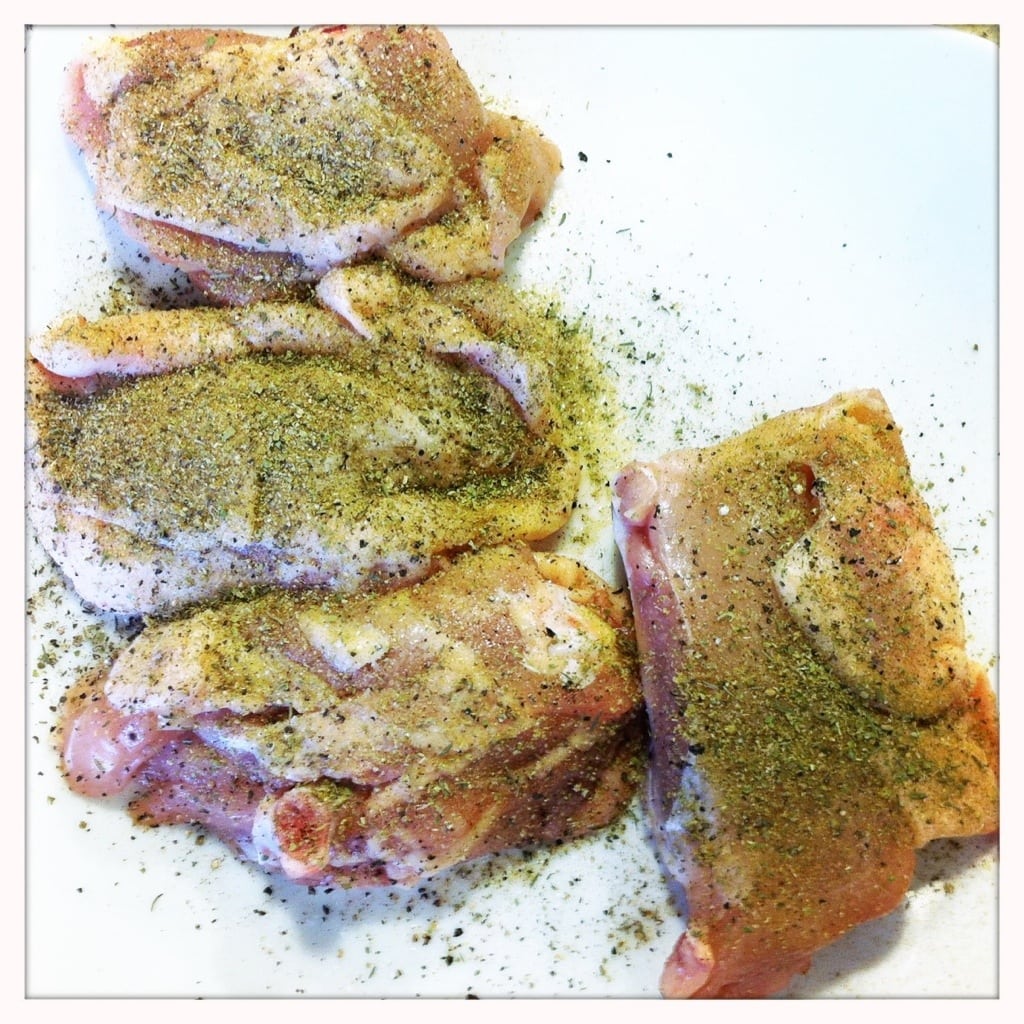
- 2 pounds of boneless, skinless, chicken thighs (I made the mistake of leaving it on the bone – NOT a smart move)
- 4 tablespoons of butter
- 1 large yellow onion diced
- 5 ribs of celery chopped
- 1.5 cups of baby carrots chopped (more if you like them)
- 1.5 cups of frozen corn kernels, thawed
- 5 cups of chicken stock
- 1 3/4 Bisquick baking mix
- 1/4 cups of heavy cream
- 2/3 cups of milk
- Salt and Pepper
- 2 teaspoons of oregano
- 1/4 cup of Parmesan cheese
- 2 teaspoons of poultry seasoning
How To Make Bisquick Dumplings
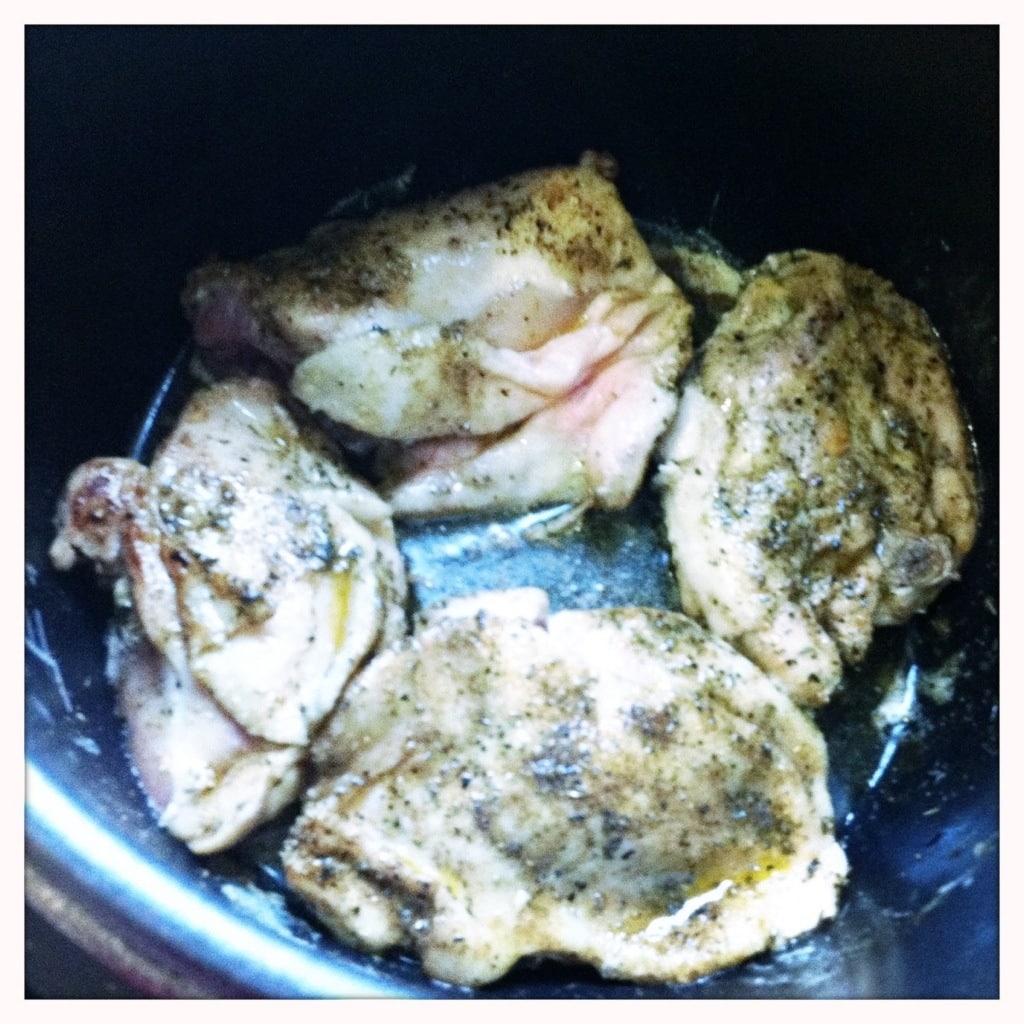
Place your pressure cooker on HIGH or BROWN and heat up the butter. Season your chicken (poultry seasoning, salt, pepper and oregano (or thyme if you have it) ) and brown.
Add in the onion, celery, carrots, chicken stock and a pinch of salt, pepper. Lock your pressure cooker and cook on HIGH for 8 minutes.
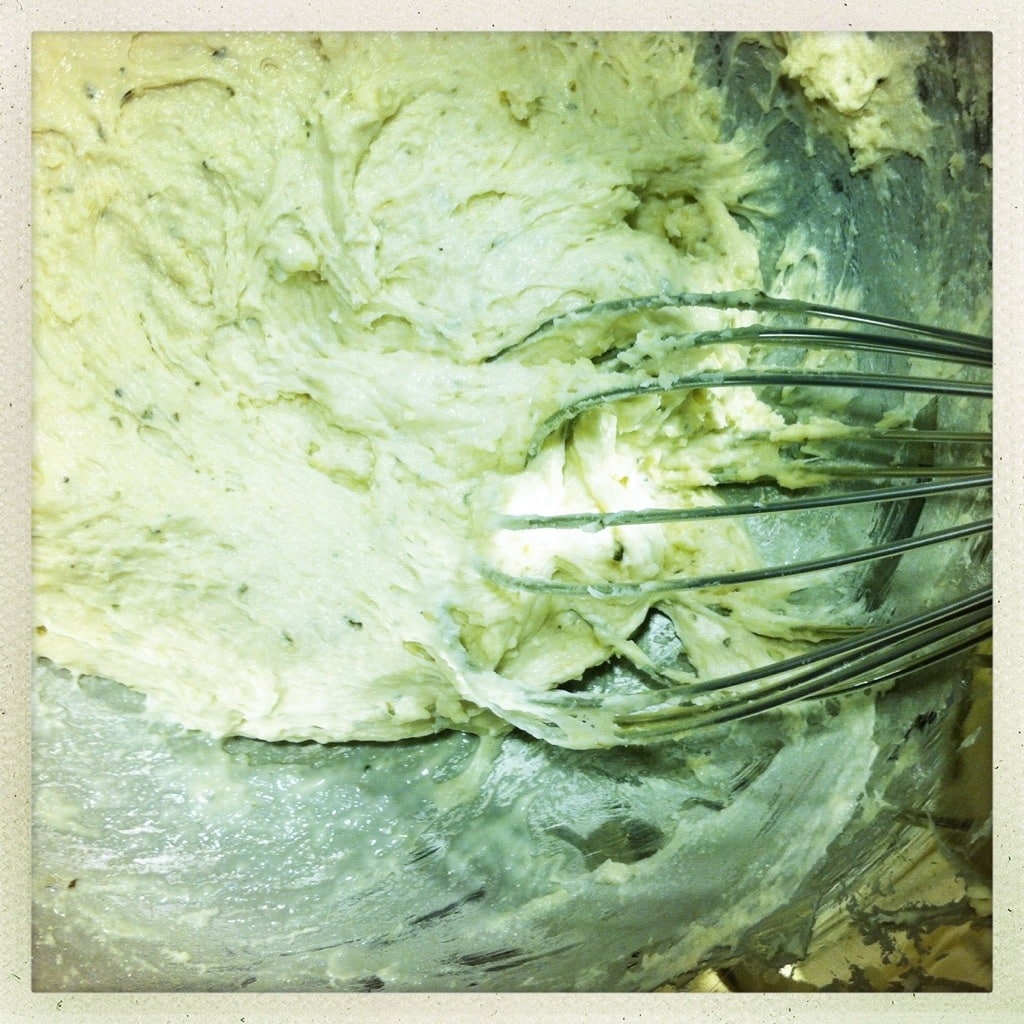
Make your Bisquick dumplings recipe mix: Whisk together Bisquick, milk, and parmesan cheese. Add a pinch of salt and pepper. (We also added a little oregano in there – optional).

Perform a quick release. Let all the steam out. Take off top. Set the pressure cooker back to high. Add in your corn and let simmer. Leave the lid off.
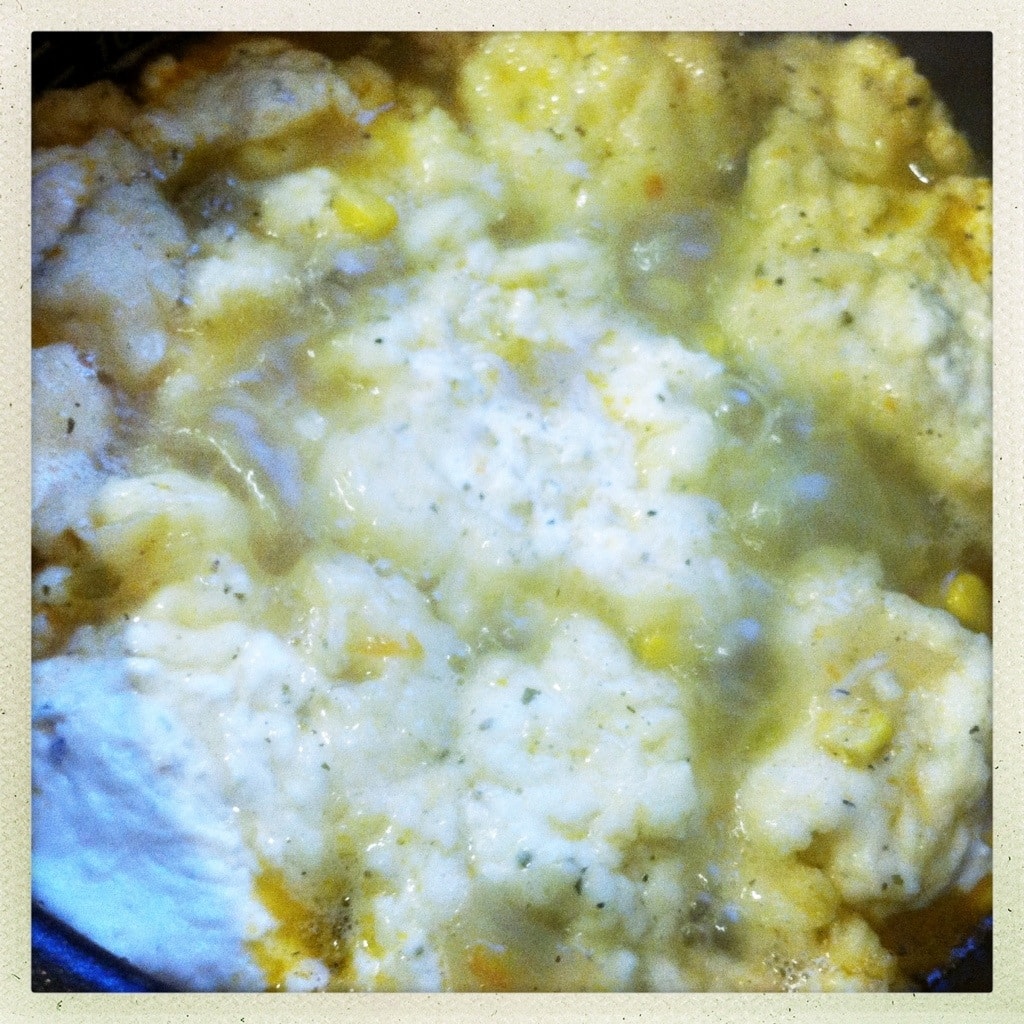
Grab a spoon and drop in your dumplings into the bubbling pressure cooker until the entire batter is in the pot. Let dumplings simmer for 8-10 minutes.
Remember to keep the lid off. Turn off the heat. When you are ready to serve this Bisquick dumplings recipe, stir in your cream. Add some more salt and pepper (to taste) and ENJOY!

I couldn’t get a good shot of the Bisquick chicken and dumplings because we ate it too quickly! Have to be honest – it’s not the prettiest dish. BUT IT TASTES SO GOOOOOOOOODDDDDDDD. So, forgive the photography and enjoy the flavor.
What do you think of these Bisquick Dumplings?
Why do my Bisquick dumplings fall apart?
If you find that your Bisquick dumplings fall apart, you might be moving them around too much. Once you drop the biscuit dough into the pot, just let them be! Do not stir.
Can you freeze chicken and dumplings?
You can absolutely freeze chicken and dumplings and enjoy wonderful leftovers on another day. In fact, this pressure cooker dish will hold in your freezer for around 3-4 months if properly stored.
This Bisquick dumplings recipe will feed your family twice if you divvy it up properly and have enough sides prepared ahead of time.
Can you substitute water for milk in Bisquick dumplings?
Sometimes we just don’t have all the ingredients that we need to make a recipe! I am at this point in my life EVERY SINGLE NIGHT! If you don’t have milk and you still want to make the Bisquick dumplings, you can substitute
Just note, the Bisquick dumplings might be a tad bit drier… but hey! You still will be eating dumplings tonight. So, that’s not a bad life.
What should I serve with chicken and dumplings?
There are so many delicious vegetables that you can serve alongside your Bisquick dumpling recipe. The options are endless.
We like to lean on creamed spinach or corn, broccoli salad, stuffed peppers (if you have time), or keep things simple with a side salad and a loaf of bread.
Do You Thicken Chicken And Dumplings?

I don’t think you need to thicken this Bisquick chicken and dumplings recipe at ALL, but if you want to thicken the soup base on your chicken and dumplings, you’ll need to do it before you add in your dumplings.
So, this is a decision you will have to make before you get started which is strange because usually, it’s something you decide while you are cooking, right?
But we are using a pressure cooker for this Bisquick dumpling recipe! So, the lid will be closed and we can’t really watch the progress of our dinner as it cooks. Not like a soup on the stove.
If you know in your heart you like a THICK Bisquick chicken dumplings, then take about 1/3 cup of the prepared liquids, place it into a bowl, and whisk in 2 teaspoons of cornstarch. Pour it back into the pressure cooker and stir. This will thicken your Bisquick Dumpling recipe.
What Are The Benefits Of A Pressure Cooker?
The best benefit for me is that a pressure cooker reduces cooking time by as much as 70%. For someone who doesn’t want to spend a lot of time in the kitchen, this is a life saver.
How Much Does A Pressure Cooker Cost?
This section contains affiliate links.
I have to say that it really does matter of the make and model of what you choose. It can be anywhere from $50 to $200! It all depends on your taste. This InstaPot is $99 and has many functions in one – including pressure cooking. We have also thoroughly enjoyed this one.
What Can Be Cooked Inside Of A Pressure Cooker?
Oh my goodness – what CAN’T be cooked? Vegetables, meats, soups, grains, stews, stocks, lentils You can also brown, boil, steam, poach, steam roast, braise, stew, or roast food.
Related Posts:
- Slow Cooker Turkey Chili (Weight Watchers)
- Easy Pressure Cooker Macaroni And Cheese Recipe
- Frozen Chicken Wings In The Ninja Foodi
- Ninja Foodi Whole Chicken Recipe,
- Chicken Cutlets Breaded In The Ninja Foodi Recipe
- Air Fryer Chicken Legs

Bisquick Dumplings - Pressure Cooker Chicken And Dumplings
Ingredients
- 2 pounds of boneless, skinless, chicken thighs (I made the mistake of leaving it on the bone - NOT a smart move)
- 4 tablespoons of butter
- 1 large yellow onion diced
- 5 ribs of celery chopped
- 1.5 cups of baby carrots chopped (more if you like them)
- 1.5 cups of frozen corn kernels, thawed
- 5 cups of chicken stock
- 1 3/4 Bisquick baking mix
- 1/4 cups of heavy cream
- 2/3 cups of milk
- Salt and Pepper
- 2 teaspoons of oregano
- 1/4 cup of Parmesan cheese
- 2 teaspoons of poultry seasoning
Instructions
- Place your pressure cooker on HIGH or BROWN and heat up the butter. Season your chicken (poultry seasoning, salt, pepper and oregano (or thyme if you have it) ) and brown.
- Add in the onion, celery, carrots, chicken stock and a pinch of salt, pepper. Lock your pressure cooker and cook on HIGH for 8 minutes.
- Make your dumplings mix: Whisk together Bisquick, milk, and parmesan cheese. Add a pinch of salt and pepper. (We also added a little oregano in there - optional).
- Perform a quick release. Let all the steam out. Take off top. Set the pressure cooker back to high. Add in your corn and let simmer. Leave the lid off.
- Grab a spoon and drop in your dumplings into the bubbling pressure cooker until entire batter is in pot. Let dumplings simmer for 8-10 minutes.
- Remember to keep the lid off. Turn off the heat. When you are ready to serve, stir in your cream. Add some more salt and pepper (to taste) and ENJOY!
Darin Loken
Friday 14th of February 2014
Thanks so much! I've made chicken soup before, but wanted to make some dumplings instead of noodles, so this recipe will help me out a lot! I don't add the cream to mine, but everything else seems to be about the same. I probably would've tried making the dumplings with the lid still on, so thanks again so much for the tips!! Darin
iherb
Saturday 18th of January 2014
Hello mates, good post and fastidious arguments commented at this place, I am truly enjoying by these.
Anne
Saturday 25th of May 2013
This is the best chicken and dumplings receipe I ever tried! Adding Parmesan cheese to the dumplings is a nice touch!